Item
Block Tales Rocket Boots Item Guide
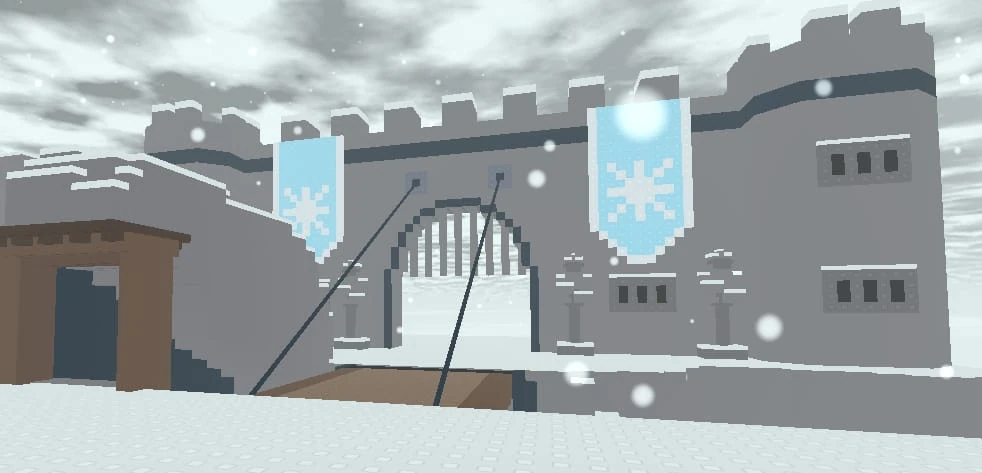
Block Tales Rocket Boots is a Chapter 2 field and action card found in the Volcano after beating the Bigfoot Campfire crew. It costs 2 BP, costs 4 SP in battle, deals 5 damage, applies Burn level 1 for three turns, and gives the player a field jump that can cross pits or break floors.
Last updated: 2026-04-27

Quick Facts
| Type | Field and action card, stored here as an item page |
|---|---|
| Category note | Current source data treats Rocket Boots as a card, not a consumable item. |
| First obtainable | Chapter 2. |
| Source | Found in the Volcano after defeating the Bigfoot Campfire crew. |
| BP cost | 2 BP. |
| Battle cost | 4 SP. |
| Damage | Deals 5 damage. |
| Status | Applies Burn level 1 for three turns. |
| Field use | Lets the player jump across pits, jump into gaps, break floors, and interact with the world map. |
| Timing note | In battle, action commands require jumping at the right time. |
| Best use | Best when both movement utility and burn coverage matter. |
| Reviewed facts | Checked against current community wiki data on 2026-04-27. |
Block Tales Rocket Boots facts that matter
Rocket Boots is another local item page that is really a card in current source data. It matters enough to keep clear because it changes both field movement and battle options.
In battle, 4 SP for 5 damage plus Burn can be worthwhile when the target survives long enough for Burn to matter. In the field, the jump utility opens movement checks that normal walking cannot solve.
- Equip around both exploration and battle needs.
- Use Burn value against enemies that live long enough.
- Do not spend 4 SP when a normal attack finishes the target.
- Practice the jump timing before relying on it in a hard fight.
Volcano route and field movement
Rocket Boots comes from the Volcano after the Bigfoot Campfire crew. That timing matters: it arrives when Chapter 2 starts asking for more route tools, not just more damage.
Use it to revisit field checks, pits, gaps, and breakable floors. This is the kind of upgrade that can make older rooms worth rechecking.
- Revisit locations after getting Rocket Boots.
- Use jumps for pits and gap routes.
- Break floors where the field interaction allows it.
- Do not confuse route utility with raw boss damage.
Rocket Boots compared with Fireball
Rocket Boots and Fireball both give burn pressure, but they are not the same slot. Fireball is a focused elemental action. Rocket Boots also handles movement and field utility.
If the route asks for exploration, Rocket Boots wins extra value. If the fight only asks for cheaper burn pressure, Fireball may be easier to justify.
- Rocket Boots: 2 BP, 4 SP, 5 damage, Burn, field jump.
- Fireball: direct burn action.
- Iron Sword: permanent route and damage upgrade.
- Tree Golem: good burn-weakness comparison target.
FAQ
Where do I get Rocket Boots?
Current source data lists Rocket Boots in the Volcano after defeating the Bigfoot Campfire crew.
How much BP and SP does Rocket Boots cost?
Rocket Boots costs 2 BP to equip and 4 SP to use in battle.
What does Rocket Boots do in battle?
It deals 5 damage and applies Burn level 1 for three turns.
Why is Rocket Boots useful outside battle?
Its field jump helps cross pits, enter gaps, break floors, and interact with map obstacles.
Related Pages

Chapter
Chapter 2
Block Tales Chapter 2 is A Toxic Time, released on July 6, 2024. It starts after Cruel King and the Ice Dagger, then sends the player through Roblox HQ Basement, the airport route, Plainstown, Savannah, Ant Hill, Turitopulis Forest, Rugged Rainforest, and Griefer's Crib. The chapter adds a heavier poison and jungle route feel, with Komodo Dragon, Bigfoot, Griefer, Bubonic Plant, and optional Supreme Mosquito in the boss set. Bring Cure or another status answer before the route starts draining items. Chapter 2 rewards players who conserve SP before the long jungle stretch.
Location
Rugged Rainforest
Block Tales Rugged Rainforest is the heavy Chapter 2 route before Griefer's Crib. It connects Komodo Dragon, Rocket Boots, Bigfoot, SP+ at Rugged Rainforest [19], poison pressure, and the resource checks that decide whether the final Chapter 2 chain is stable.

Boss
Bigfoot
Block Tales Bigfoot is a Chapter 2 boss at the Mango Tree with 30 HP, 1 Defense, level 70, and a pattern that mixes stomps, party hits, vine swings, and Charged pressure. He also appears on Pit Floor 28. The fight matters because it sits near the Iron Sword and dense-vegetation route progression.

Card
Fireball
Block Tales Fireball is a 1 BP Ball action card that costs 2 SP and applies Burn level 1 for 3 turns. It is good when a target will survive long enough for Burn to matter, and weaker when direct damage would end the fight immediately. Fireball is found in Caves [3], can be bought from Amber for 80 TIX, and can drop from several later enemies and bosses at 1.2%. The action command can add 1 extra damage to Ball damage. Use it as a damage-over-time plan, not a panic button.
Card
Rocket Boots
Block Tales Rocket Boots is a field card found inside Komodo Dragon's cave after defeating Komodo Dragon. It costs 3 SP in battle, can hit Flying enemies, and applies Burn and DEF Down for 3 turns if the attack deals damage.

Enemy
Tree Golem
Block Tales Tree Golem is an 8 HP, 1 Defense Chapter 2 enemy with Burn Weakness level 2, Smackdown, Jump Slam, Spike Up, Rugged Rainforest encounters, and a Free Poison drop at 0.7%. The fight rewards burn planning and punishes contact into Spiky turns.
Item
Iron Sword
Block Tales Iron Sword is a permanent sword upgrade bought from Terry's Tutorials for 200 TIX after Cruel King. It raises sword damage, unlocks Hyperball, and lets the player cut thick grass in Savannah for the Supreme Mosquito route. This is a route unlock as much as a damage upgrade.

Guide
Card Build Basics
Block Tales Card Build Basics starts with one question: what is failing right now? If enemies live too long, add damage. If SP runs dry, use SP+ or SP Saver. If missed guards are killing the run, take HP+ or defense before more offense. Cards are not free just because they fit in the menu. Most cost BP to equip, active cards often spend SP, and stacked cards can raise both power and cost. A good build has one damage answer, one survival answer, and enough SP to use both when the route gets messy.